Midjourney model personalization is now live, offering you a more tailored image generation experience by teaching the AI your preferences.
How does Midjourney model personalization work?
This Midjourney model personalization feature allows you to adjust the algorithm to match your personal tastes, reducing biases from its training data.
Here’s how it works:
- Understanding prompts: When you write a prompt, there are many details that remain implicit. Midjourney’s algorithms fill in these blanks based on their own built-in preferences, which can introduce biases.
- Learning your preferences: The model personalization feature learns your preferences, making the AI more likely to generate images that align with your tastes.
- How to train the model: The feature learns from your votes in pair ranking and the images you like from the explore page. You need to complete 200 pair rankings or likes for the feature to become effective.
- Using the feature: Once you have enough ratings, simply add “–p” to your prompt to enable personalization. This will generate a unique code that you can share with others.
- Unique personalization codes: Remember, each personalization code is unique and tailored to your individual style.
Editor’s note:
Midjourney and other AI image generators thrive on prompts. The more detailed and well-crafted your prompts, the better the output. However, capturing an entire image with words alone can be a tall order—almost impossible for anyone. This is where Midjourney flexes its muscles, filling in the gaps.
That’s why Midjourney’s model personalization is a game-changer for getting even better results. But it’s a two-way street. If you want top-notch results, you first need to sharpen your prompt-writing skills. To help you get there, check out this list of guides:
- Master Midjourney’s /describe command to unlock diverse creations
- Midjourney niji v6 is out and here is what you need to know
- Midjourney styles unveiled
- Midjourney prompt commands and parameters that you need to know
- Midjourney prompts for characters, logos… well everything
- Best Midjourney AI tips and tricks (with prompts)
- I tested this popular prompt generator and the result might surprise you
How to use Midjourney model personalization step by step?
- Head over to the Midjourney Ranking Page to kick things off.
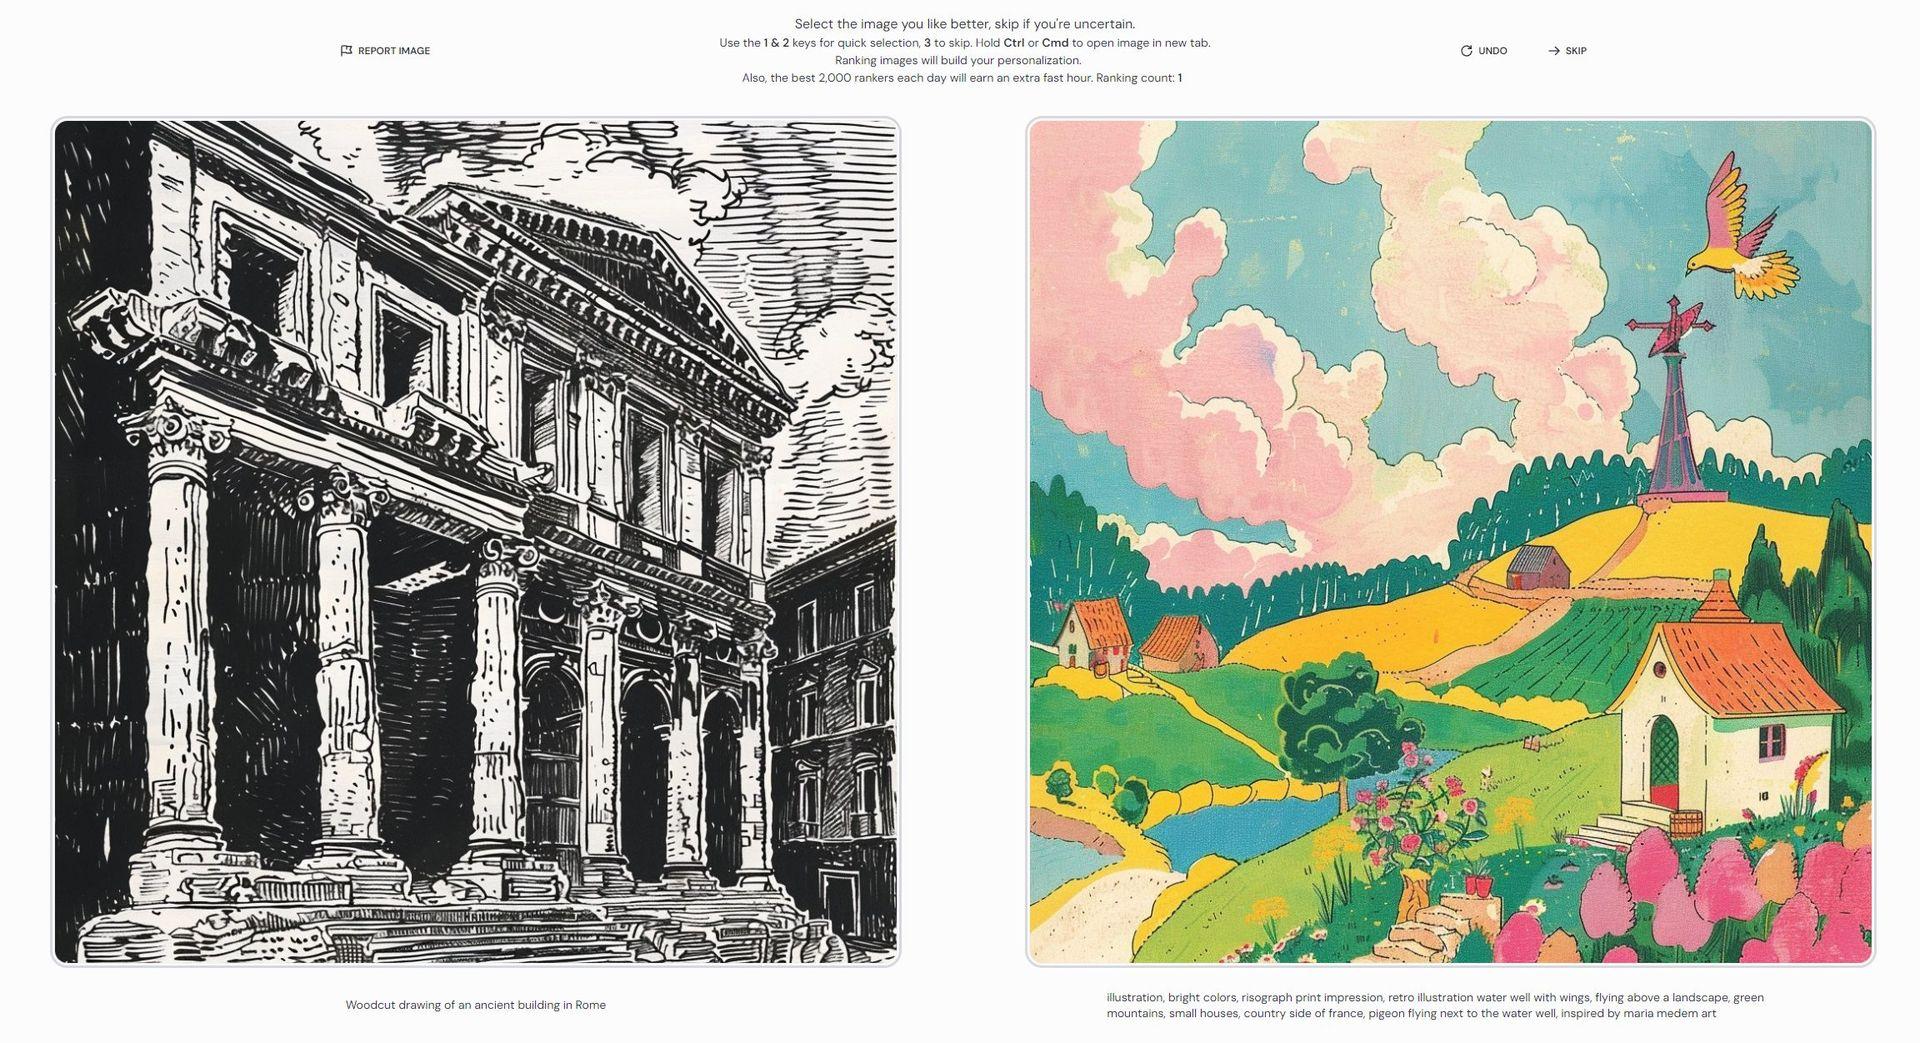
- If you skip this step and try to use Midjourney model personalization, you’ll see a warning like the one in this image:

- Start picking between pairs of images—this helps the AI get a feel for your unique tastes.
- Rack up at least 200 ranking counts to unlock the personalization feature. The more you do, the better your results will be.
- Jump back into Discord and type your prompt as usual. Add “–p” to get those personalized outputs.

- Midjourney will give you a special code you can share with friends or use to tap into their preferences.
Midjourney model personalization examples
We took the Midjourney personalization feature for a spin, comparing results with it turned on and off.
By analyzing the images side-by-side, we can see how personalization impacts the final output. Let’s find the differences together, noting the subtleties and enhancements that the feature brings to each scene.
- A mesmerizing scene of a forest meeting with wavy sea, –ar 16:9:
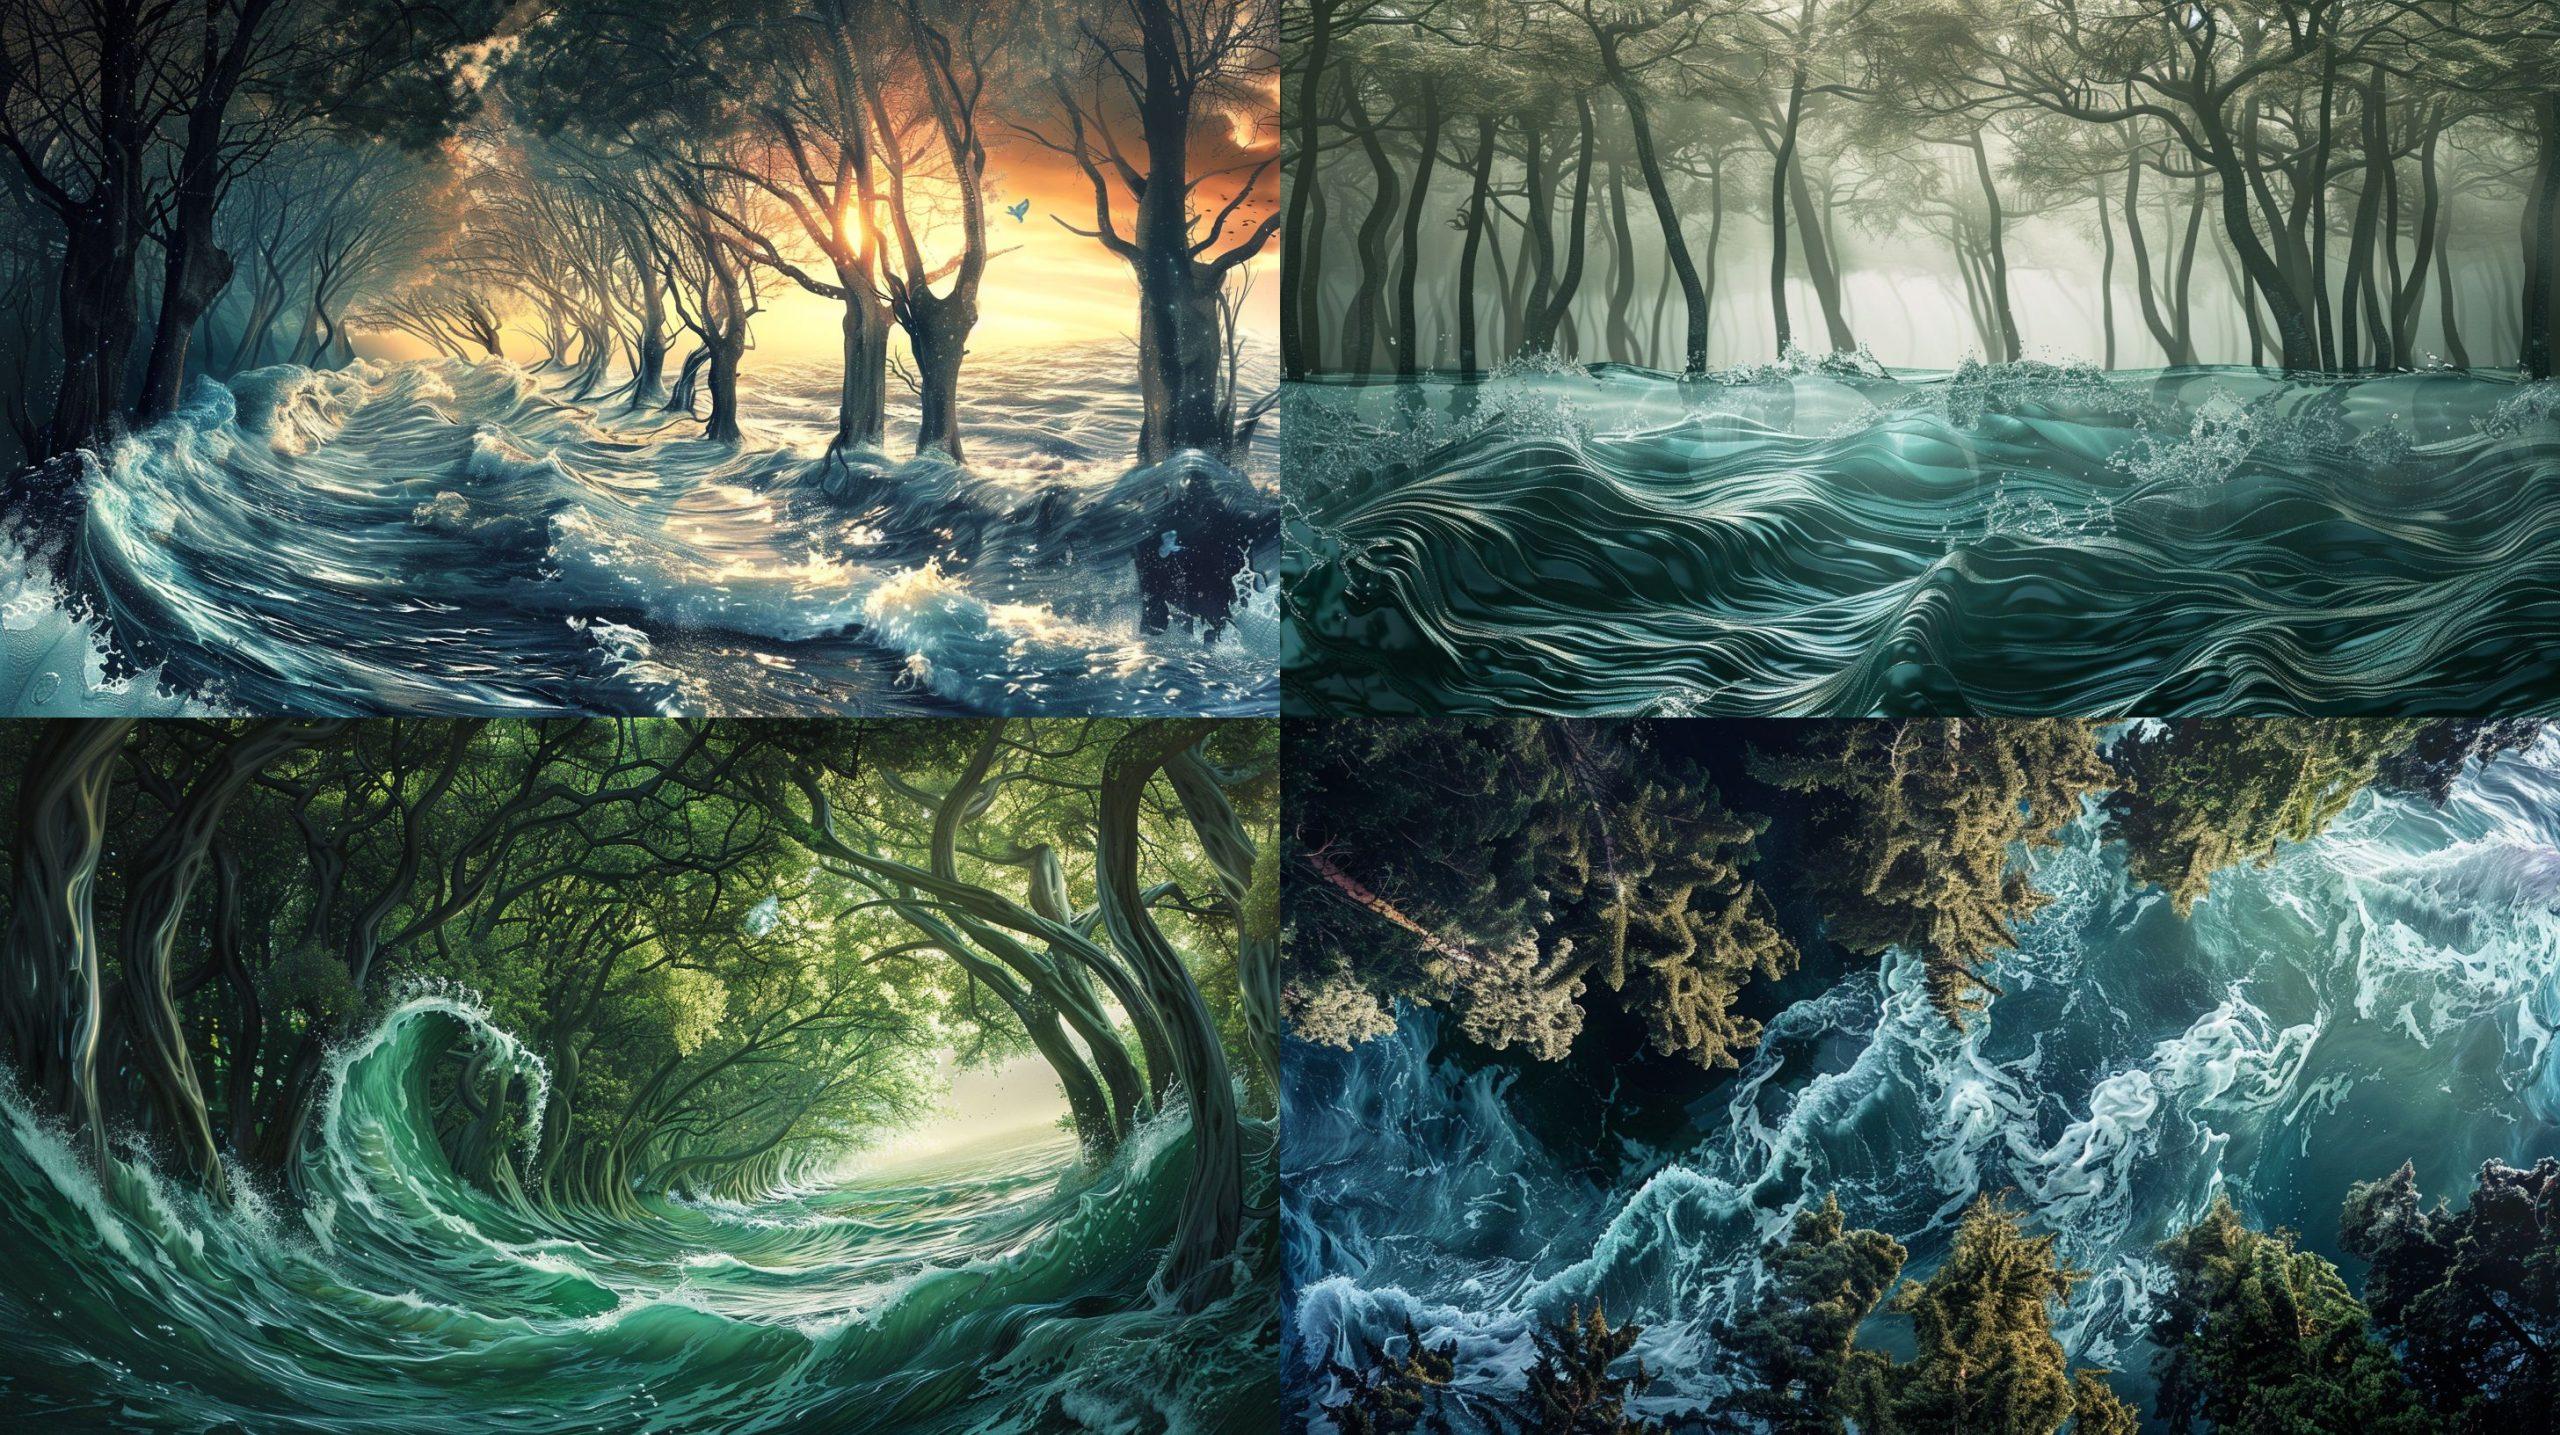
As you can see, the transitions are soft and blended, creating a serene and calm atmosphere.
- A mesmerizing scene of a forest meeting with wavy sea, –ar 16:9 –p:
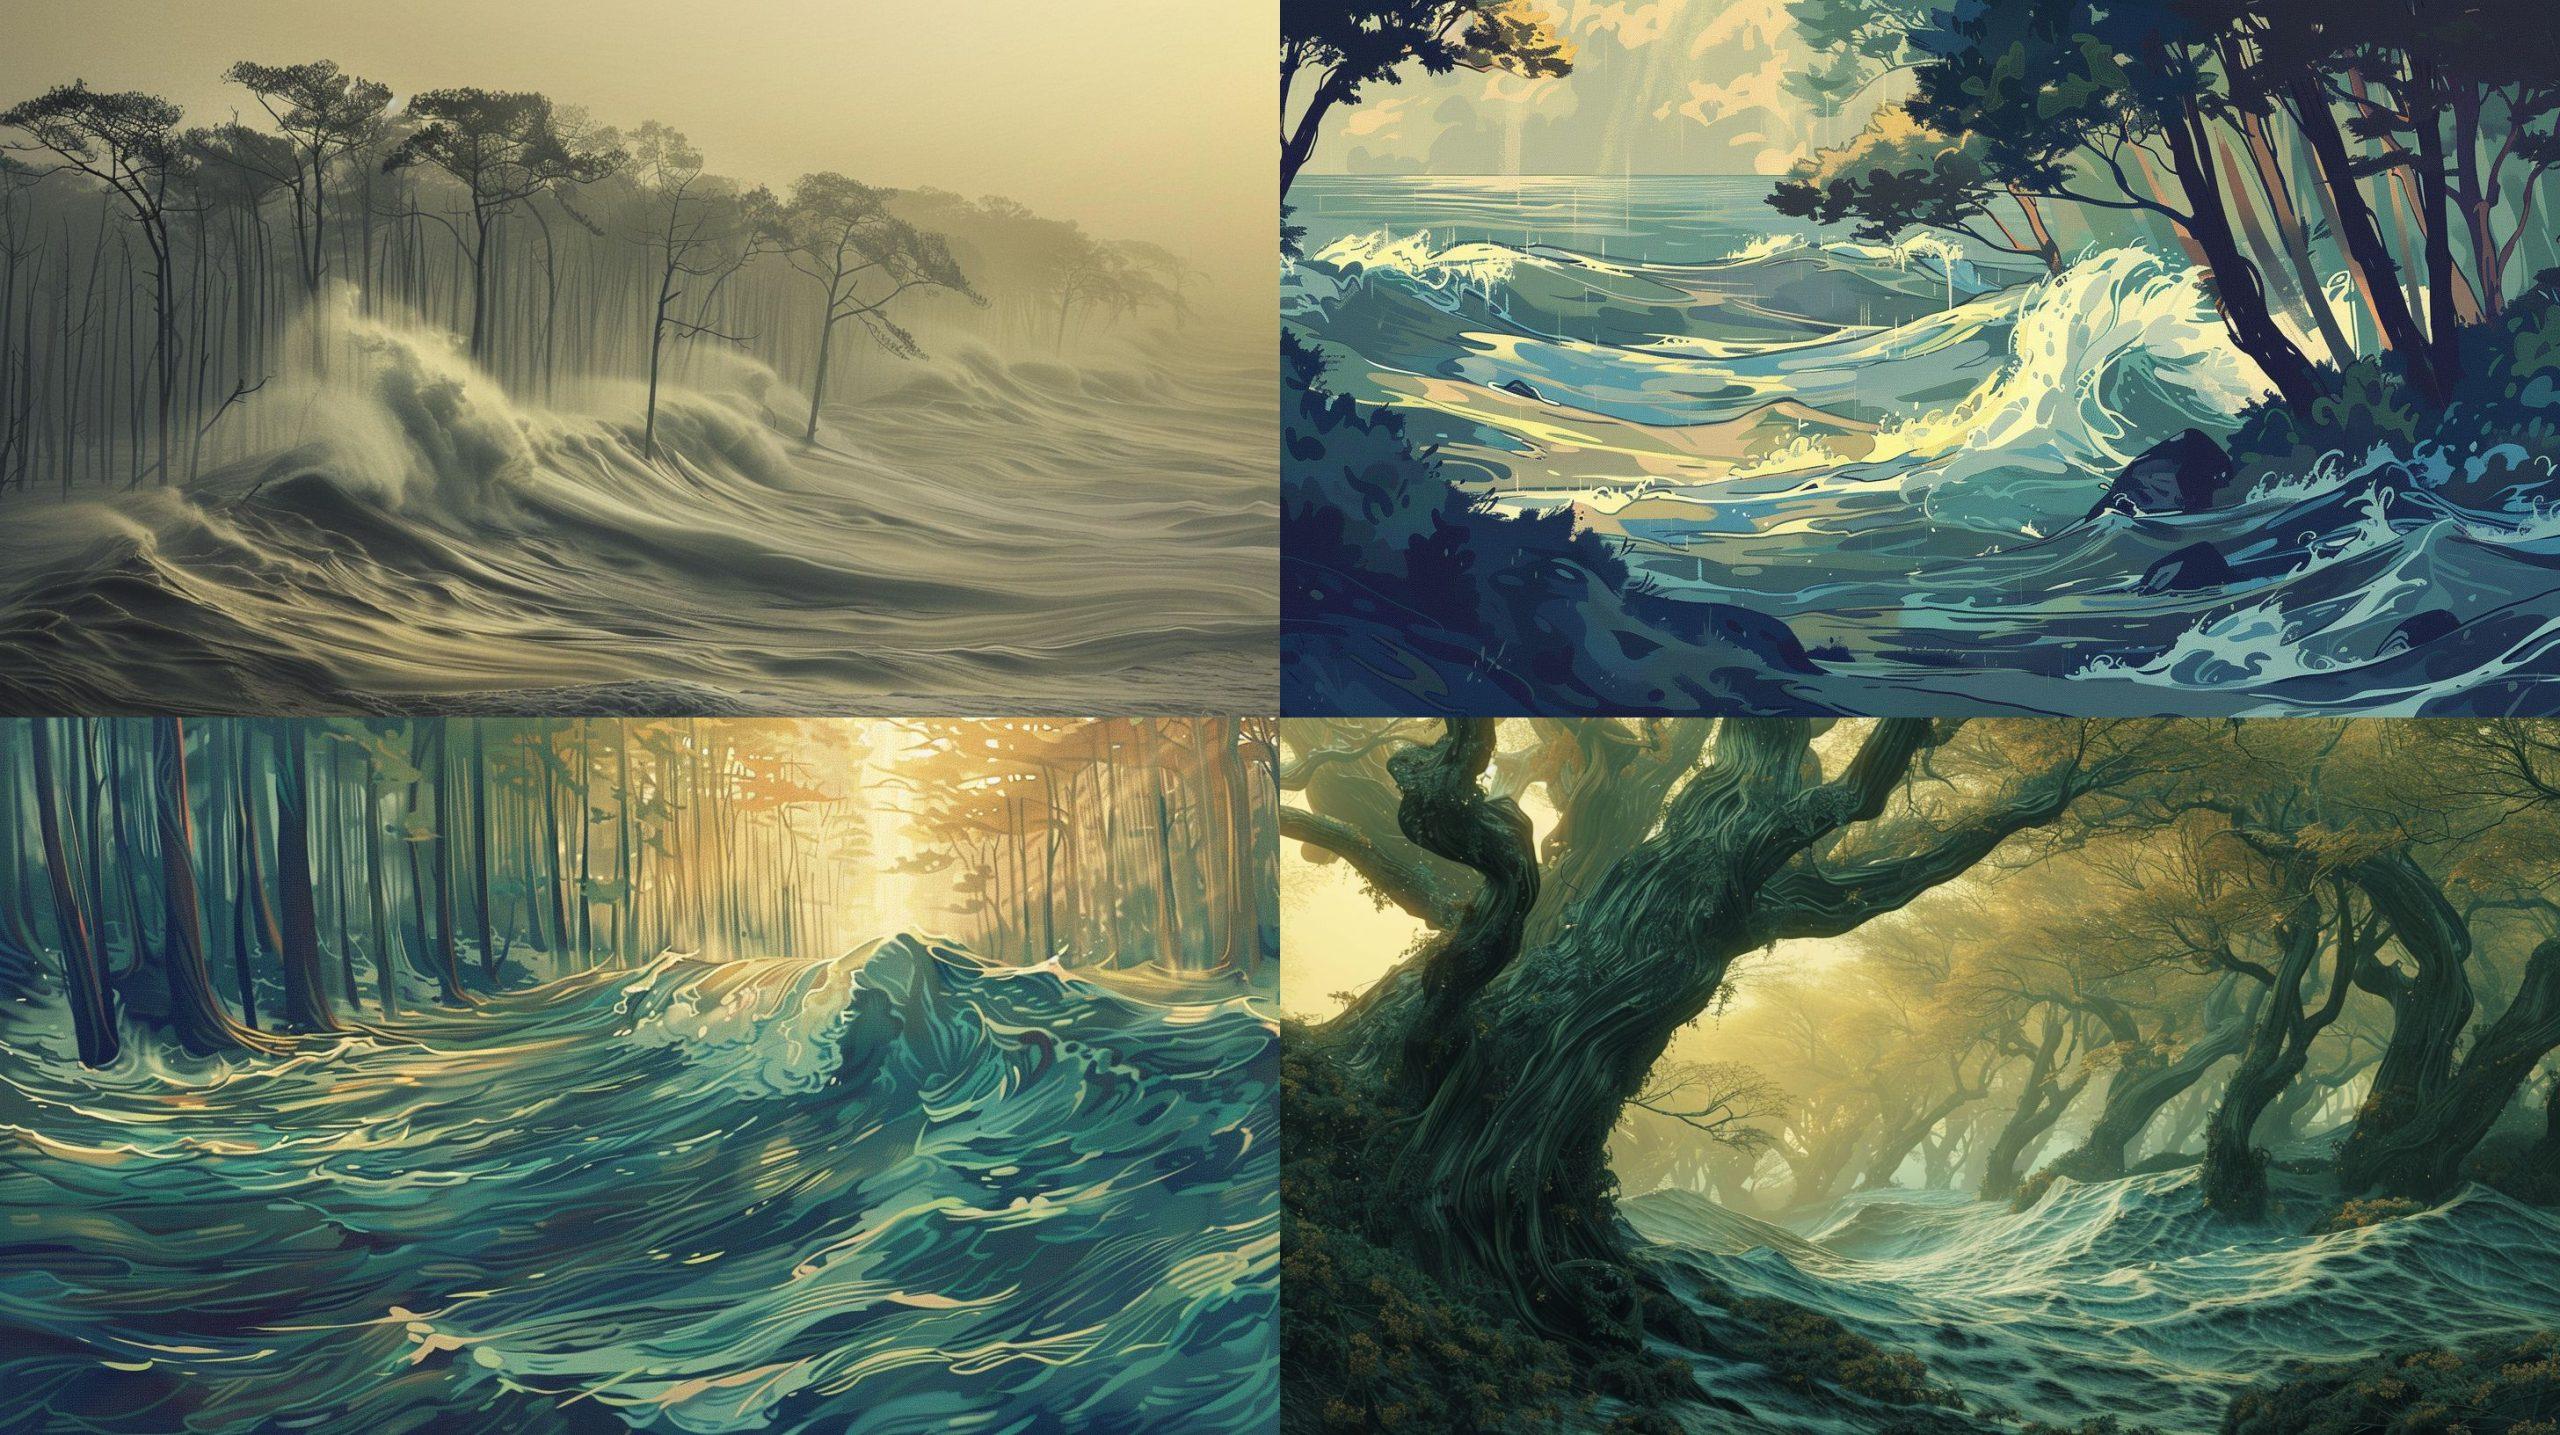
Notice how the colors are more vibrant and the composition is more dynamic, adding a sense of movement and energy.
- A logo design on white background for an AI firm called “TryingAI” –ar 16:9:
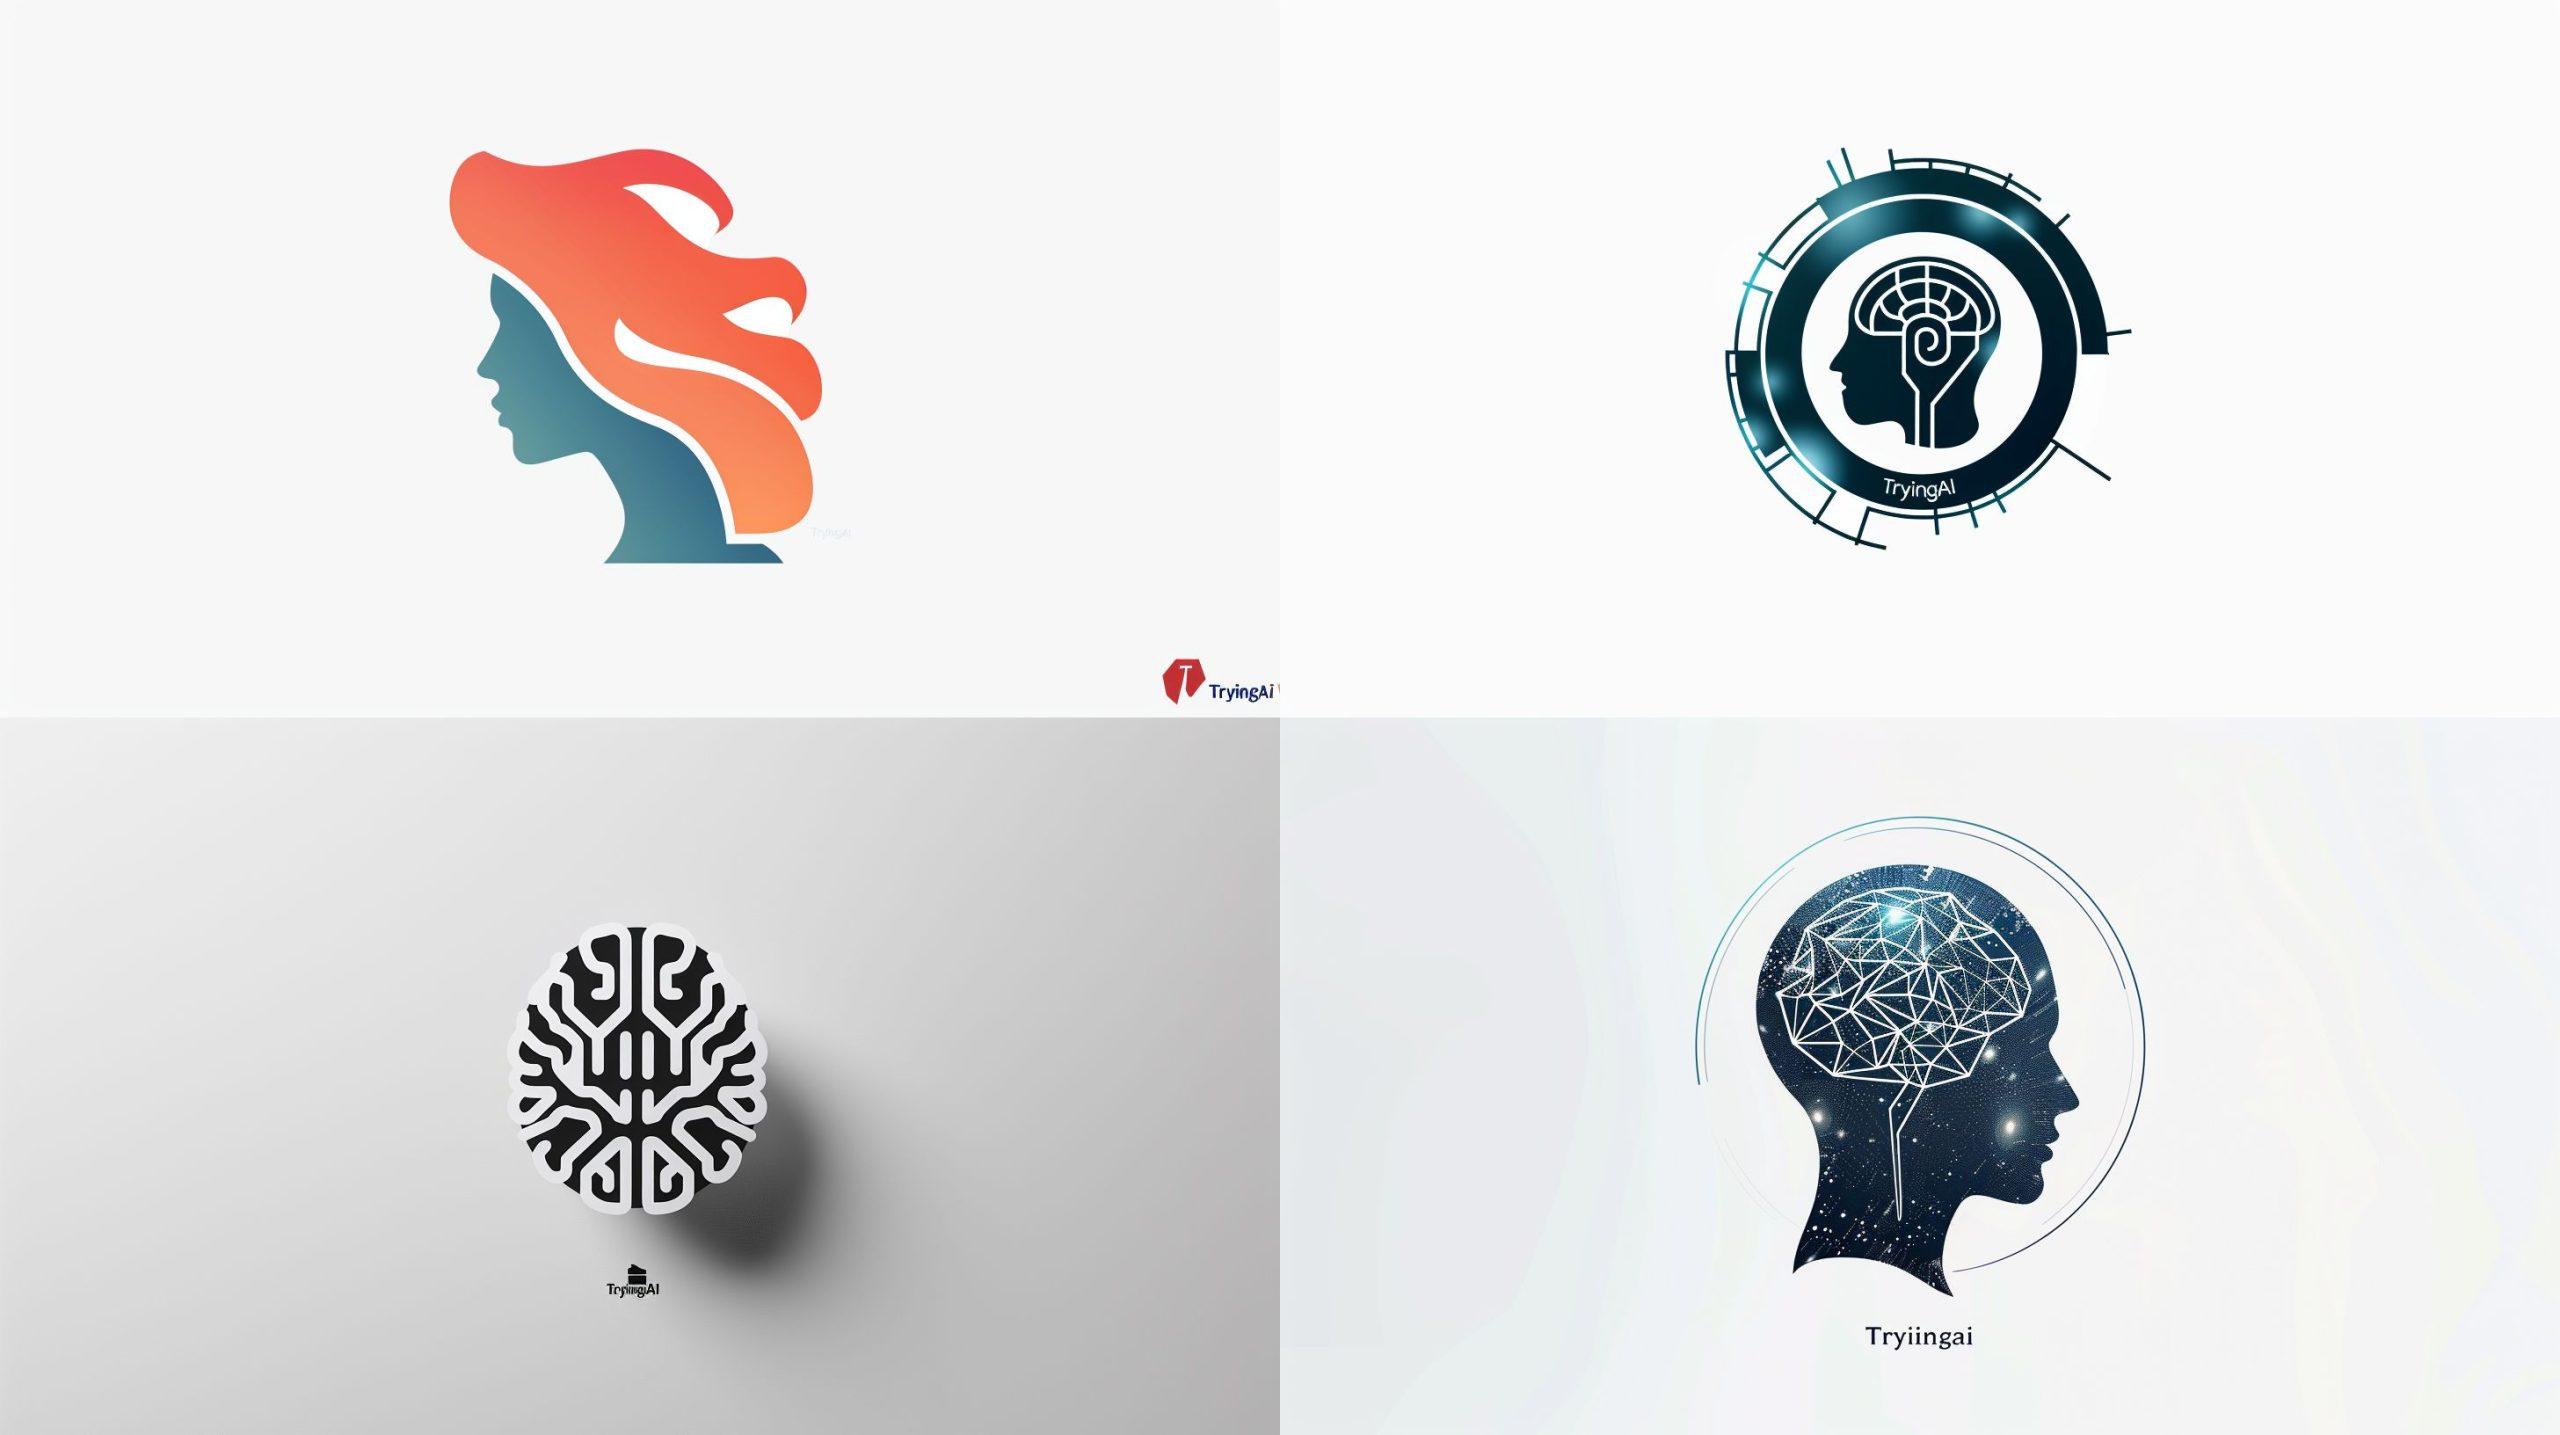
You can see that the design is simple and clean, following a minimalist style.
- A logo design on white background for an AI firm called “TryingAI” –ar 16:9 –p:
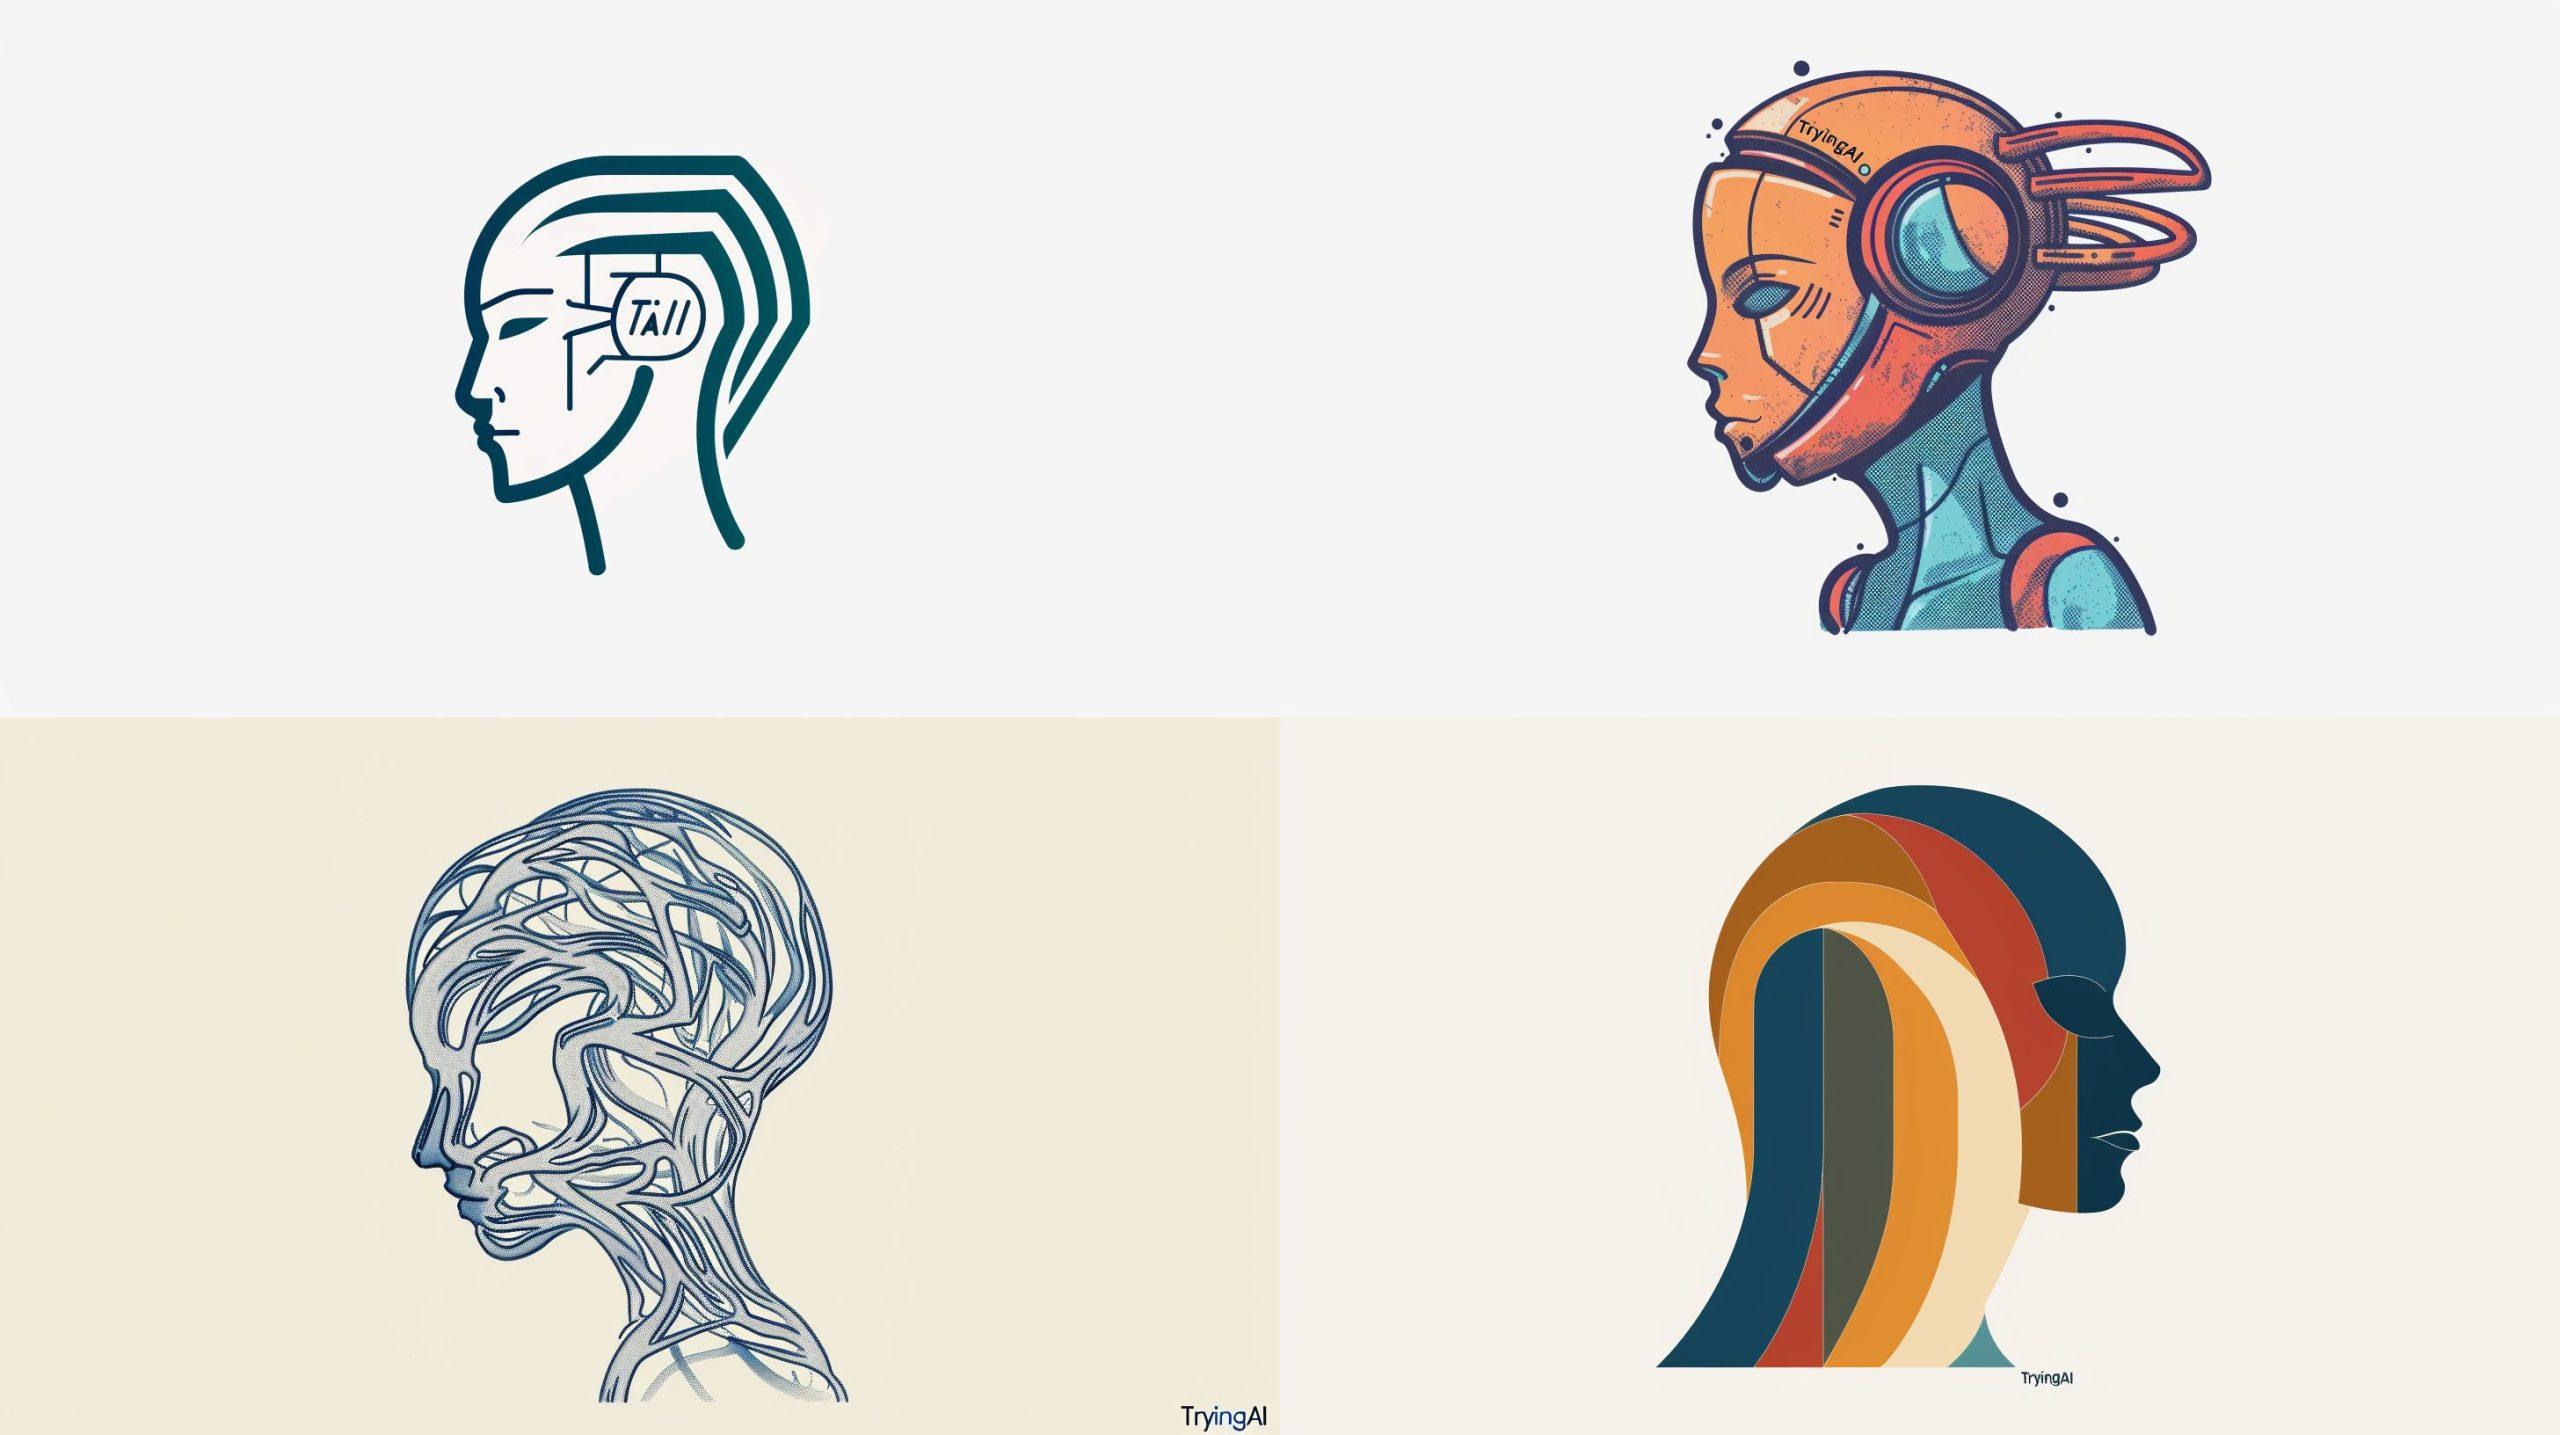
The personalized logo features more intricate details and a modern aesthetic, making it stand out more.
- A husky dog running in a desert path –ar 16:9 –v 6.0:
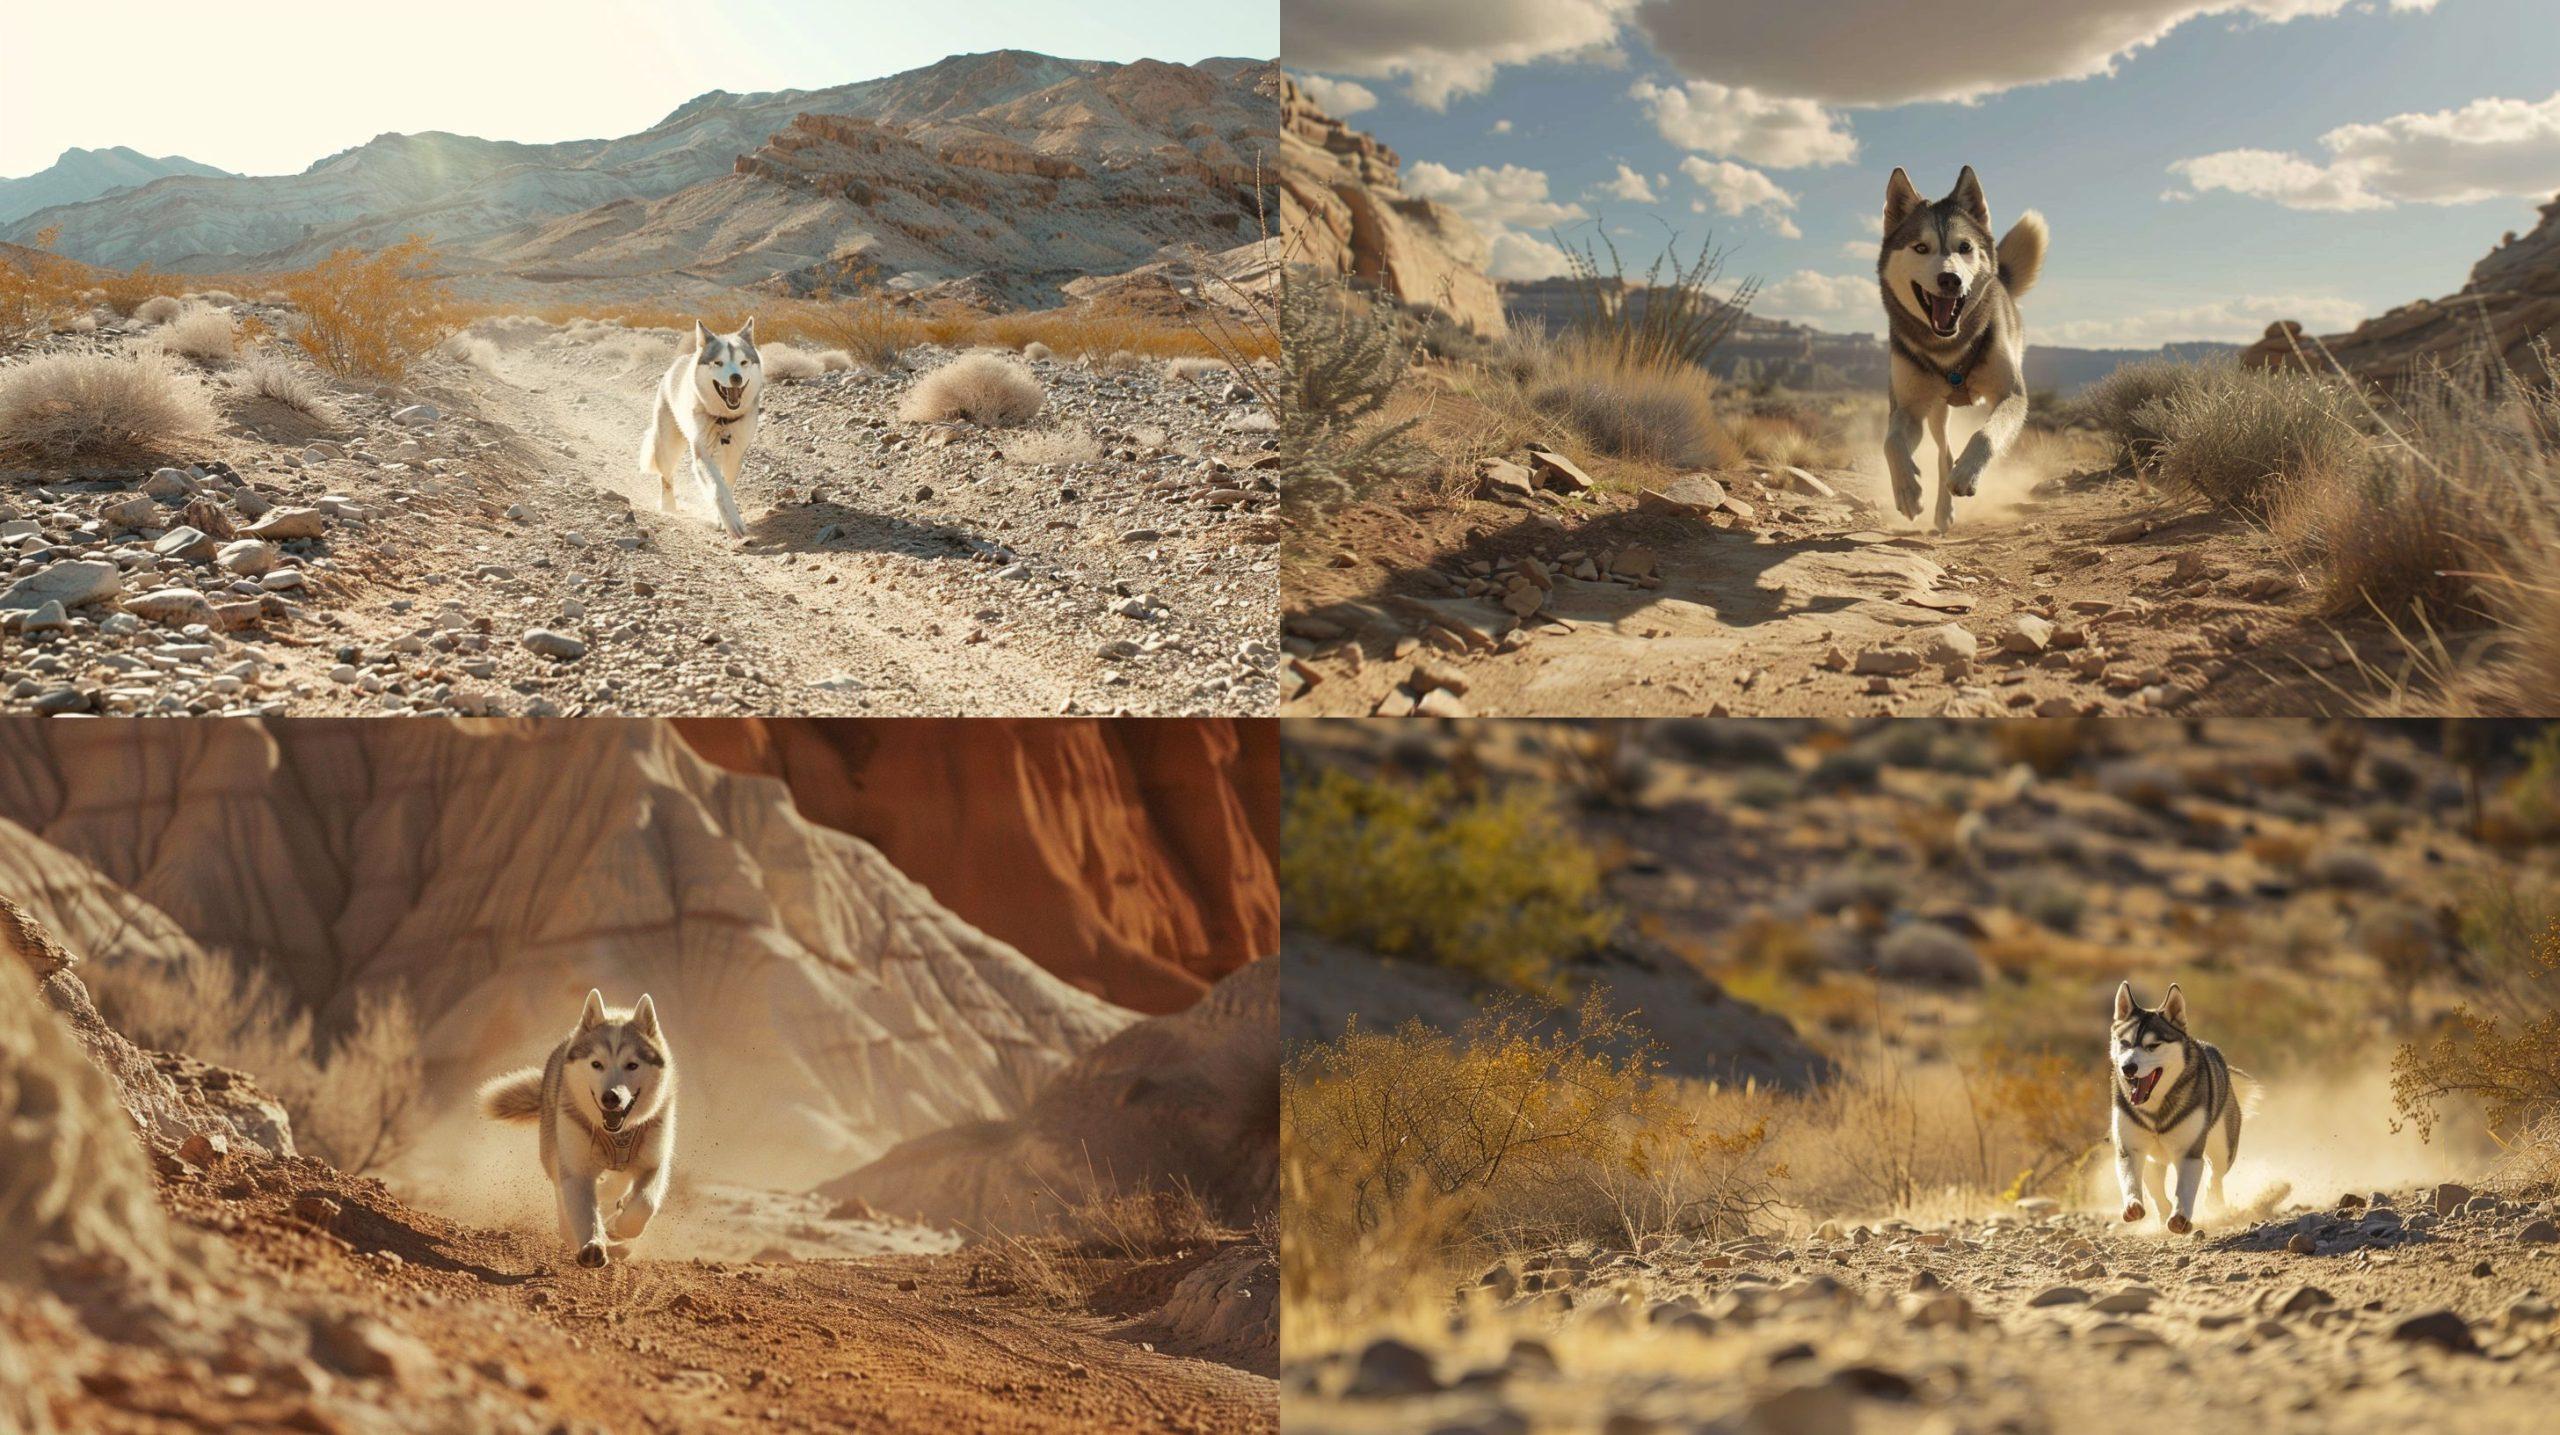
As you can see, the natural lighting and sharp details give a realistic feel to the scene.
- A husky dog running in a desert path –ar 16:9 –v 6.0 –p:
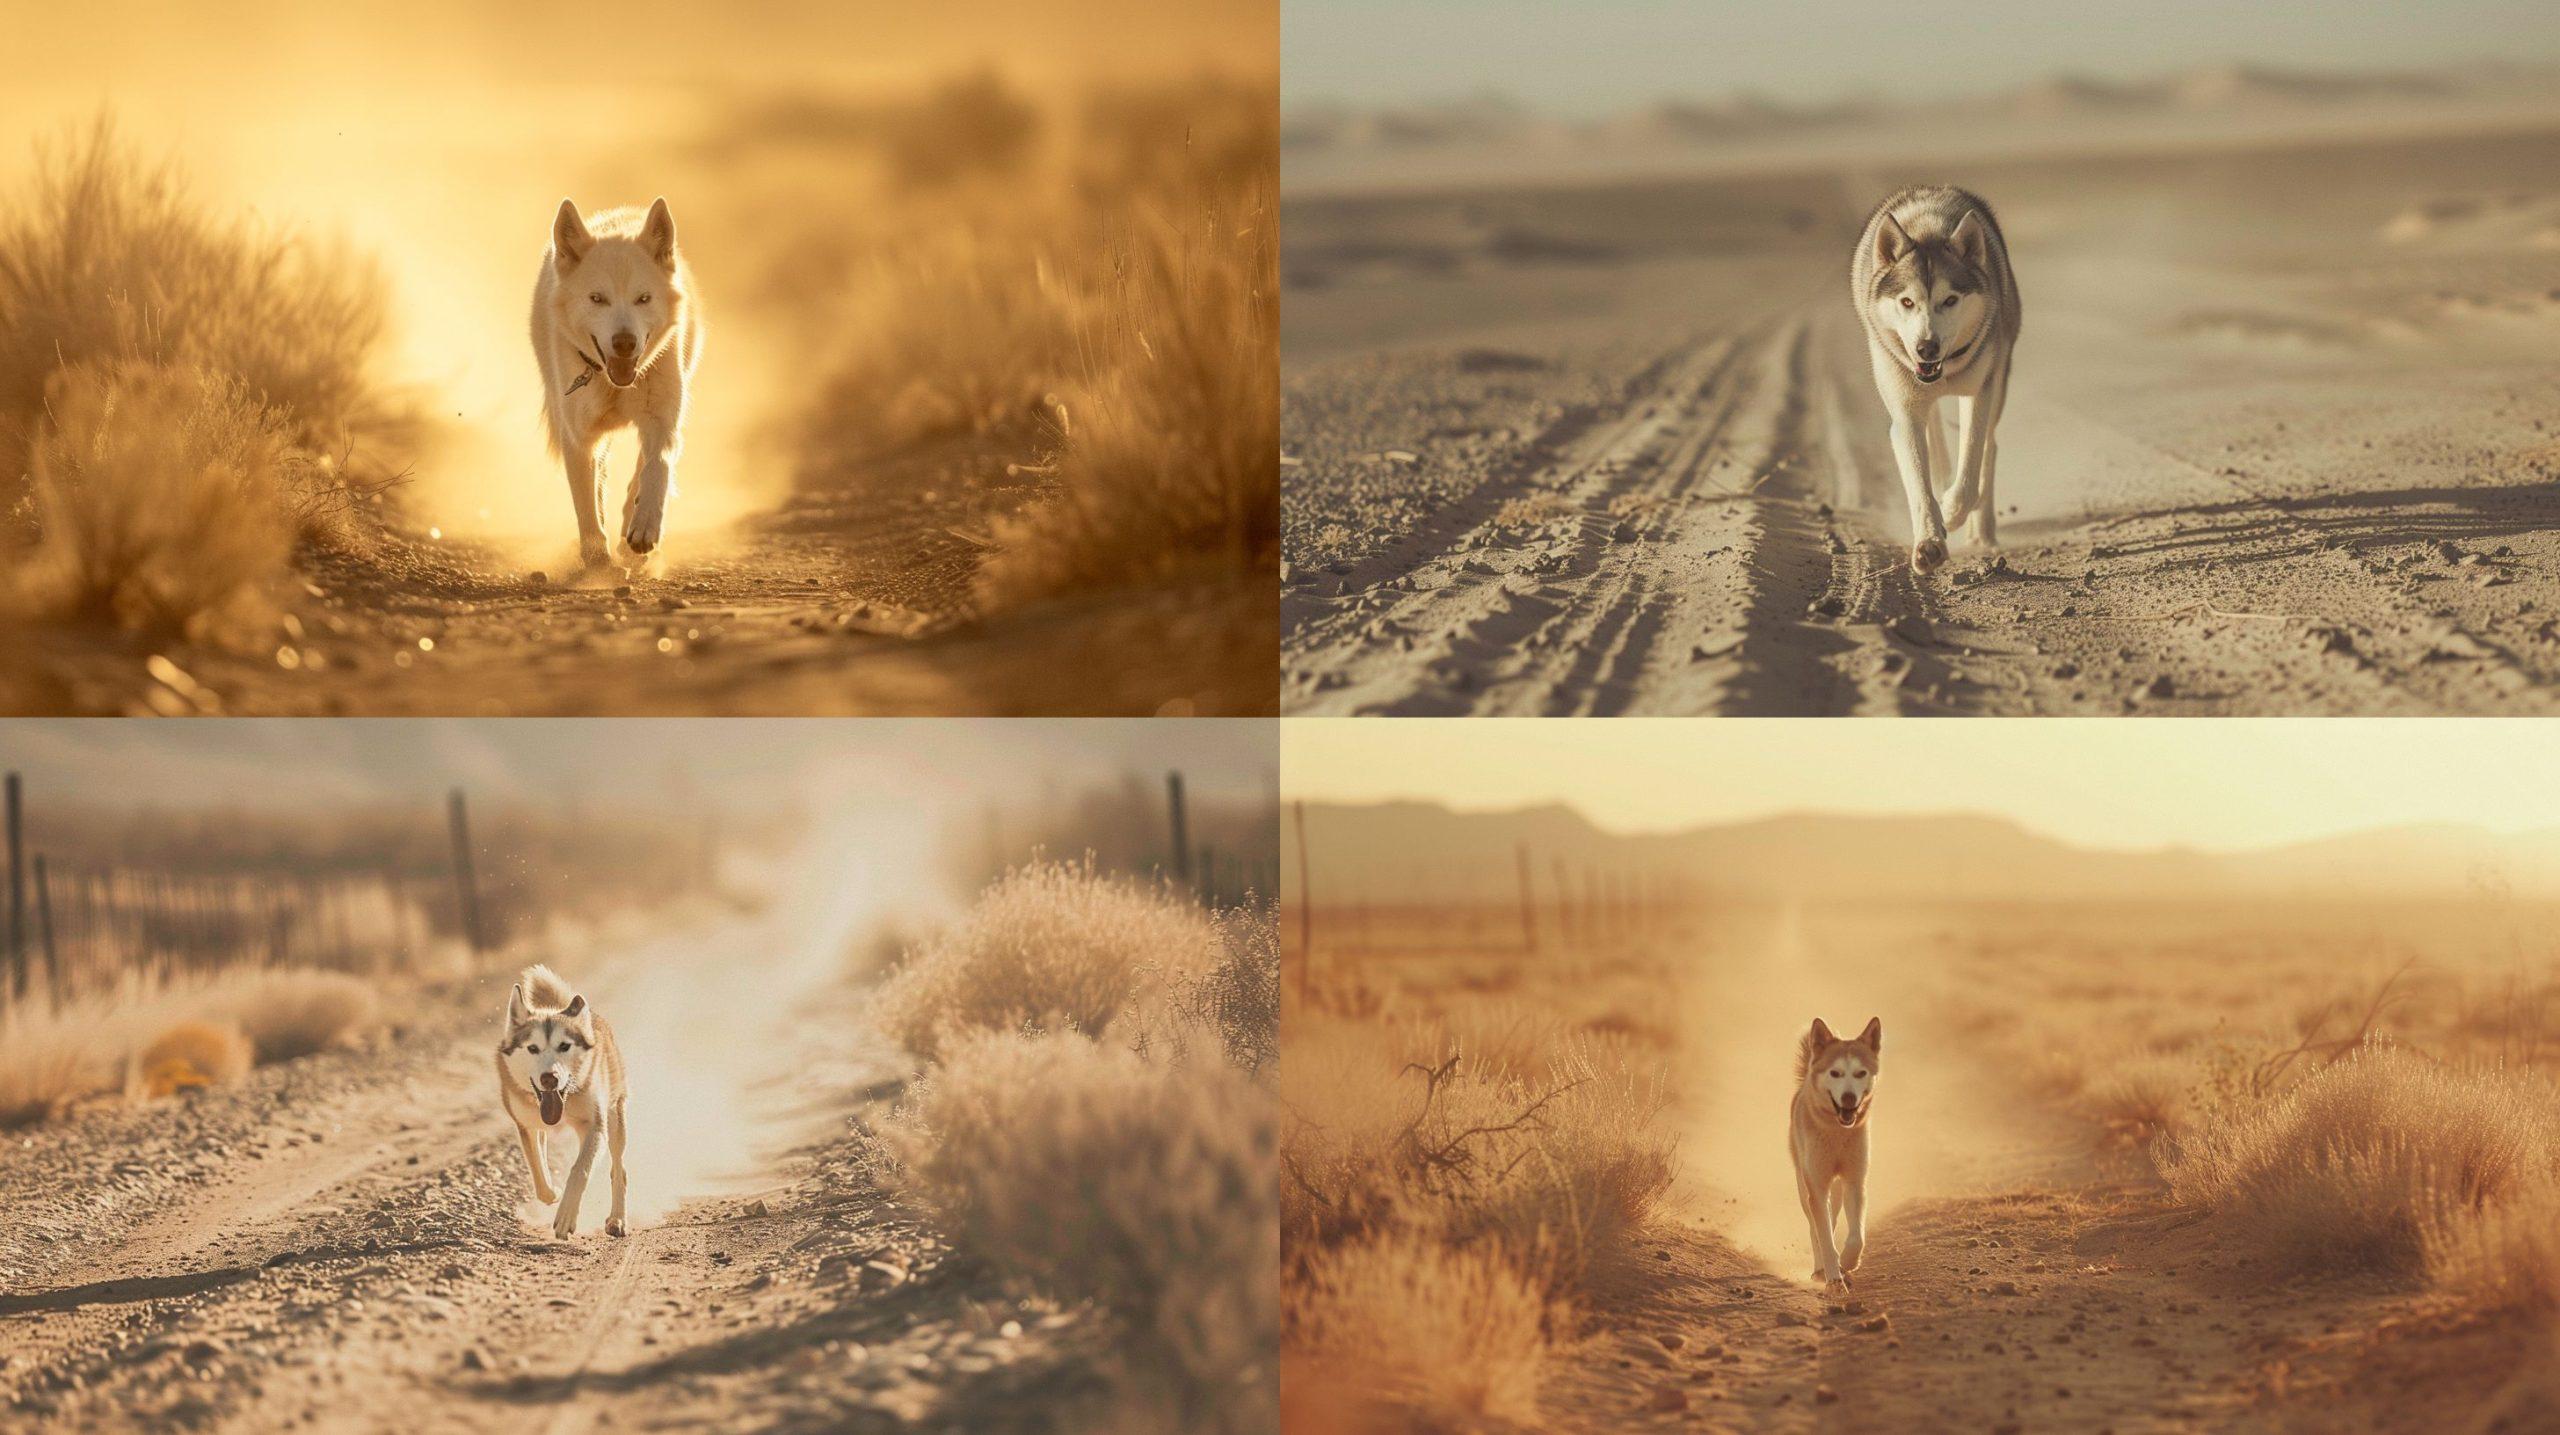
Notice how the colors are more saturated, and the lighting is more dramatic, enhancing the visual impact.
How to use stylize in combination with personalization?
When you add “–p” to your prompt, the “–stylize” (“–s”) parameter controls how much of your personalization is applied to the image.
Think of it like a dial: a lower “–s” value will keep the personalization subtle, while a higher “–s” value will amplify it. You can set the “–s” parameter anywhere between 0 and 1000, with the default being 100.
Adjust it to fine-tune your results!
Teaching the robots
By selecting images, know that you are not just customizing your experience—you are educating the AI. You’re becoming an active participant in the machine learning process. This partnership has two sides: you get better, more tailored results, and you contribute to the improvement of the AI itself. If you have any doubts about this, consider the impact you’re making.
Your input helps shape a smarter, more intuitive AI for everyone.
Featured image credit: Midjourney


